
The science of fake tan: how does self-tanner work?
To correctly apply your self-tanner, it is essential to understand how it works on our skin. Unlike the natural tan caused by melanin under the effect of UV rays, self-tanning does not involve the deeper layers of the skin. The key ingredient in almost all formulas is DHA (dihydroxyacetone), a natural or synthetic sugar.
When applied to the epidermis, DHA reacts in a mild chemical reaction (called the Maillard reaction) with amino acids present in dead cells in the stratum corneum (the outermost layer of the skin). This reaction produces melanoidins, brown pigments that mimic the appearance of a tan. This coloring generally appears within a few hours and fades naturally after 5 to 7 days, following the natural desquamation of the skin.
Some formulas combine DHA with erythrulose. This other sugar penetrates more slowly and offers a more gradual, more even and slightly less yellow tan, which helps counterbalance the sometimes too warm reflections of DHA alone. Understanding this mechanism highlights the crucial importance of skin preparation: if your skin has dry patches or a buildup of dead cells, DHA will react to them more intensely, creating spots and irregularities.
Step 1: Preparing the skin (24 hours before)
The success of your self-tanner depends on 80% of the preparation phase. The objective is to create a perfectly smooth and hydrated canvas so that the product is distributed completely evenly.
Global and targeted exfoliation
Twenty-four hours before application, carry out a complete body scrub. Use a gentle exfoliant, preferably oil-free (oils leave an invisible film on the skin that can block the adhesion of the self-tanner). Pay particular attention to rough areas where the stratum corneum is thicker:
- Elbows and knees.
- The heels and malleoli (the ankle bones).
- Hands and wrists.
For the face, choose an enzymatic exfoliant or a gentle peel based on fruit acids (AHA or BHA) rather than a grain scrub, so as not to irritate the skin barrier of sensitive skin.
Managing hair removal and shaving
It is imperative to carry out your waxing or shaving at least 24 hours before applying the self-tanner. For what ? Shaving and hair removal open the pores of the skin and create invisible micro-lesions. If you apply the self-tanner immediately afterwards, the product will accumulate in the enlarged pores, creating a very unsightly “blackhead” or dark pimples effect, especially on the legs.
Strategic hydration
After your shower and exfoliation (the day before), generously moisturize your entire body with a rich moisturizing cream or body milk. On the big day, just before applying the self-tanner, apply a thin layer of moisturizer only to dry areas (elbows, knees, heels, cuticles, knuckles). This cream will act as a protective barrier, limiting the excessive absorption of DHA in these areas which tend to darken too much.
Step 2: Choose the right texture according to your skin type
The market today offers a wide variety of textures. Choosing the one that suits your needs will greatly facilitate the application:
- Mousse (self-tanning mousse): This is the ideal texture for beginners. It dries extremely quickly, spreads easily and often has a “guide color” (a temporary instant tan) that allows you to see exactly where the product has already been applied.
- Milk or cream: Very moisturizing, this texture is perfect for dry or mature skin. It is applied like a classic treatment and often offers a very natural and progressive result.
- Self-tanning oil: It provides an immediate satin finish and is well suited to normal to dry skin. However, it requires a little more dexterity to avoid overloading.
- Self-tanning drops: Mix directly into your usual moisturizer (face or body). It is the most modular and safest option for a tailor-made effect.
Step 3: Body application step by step
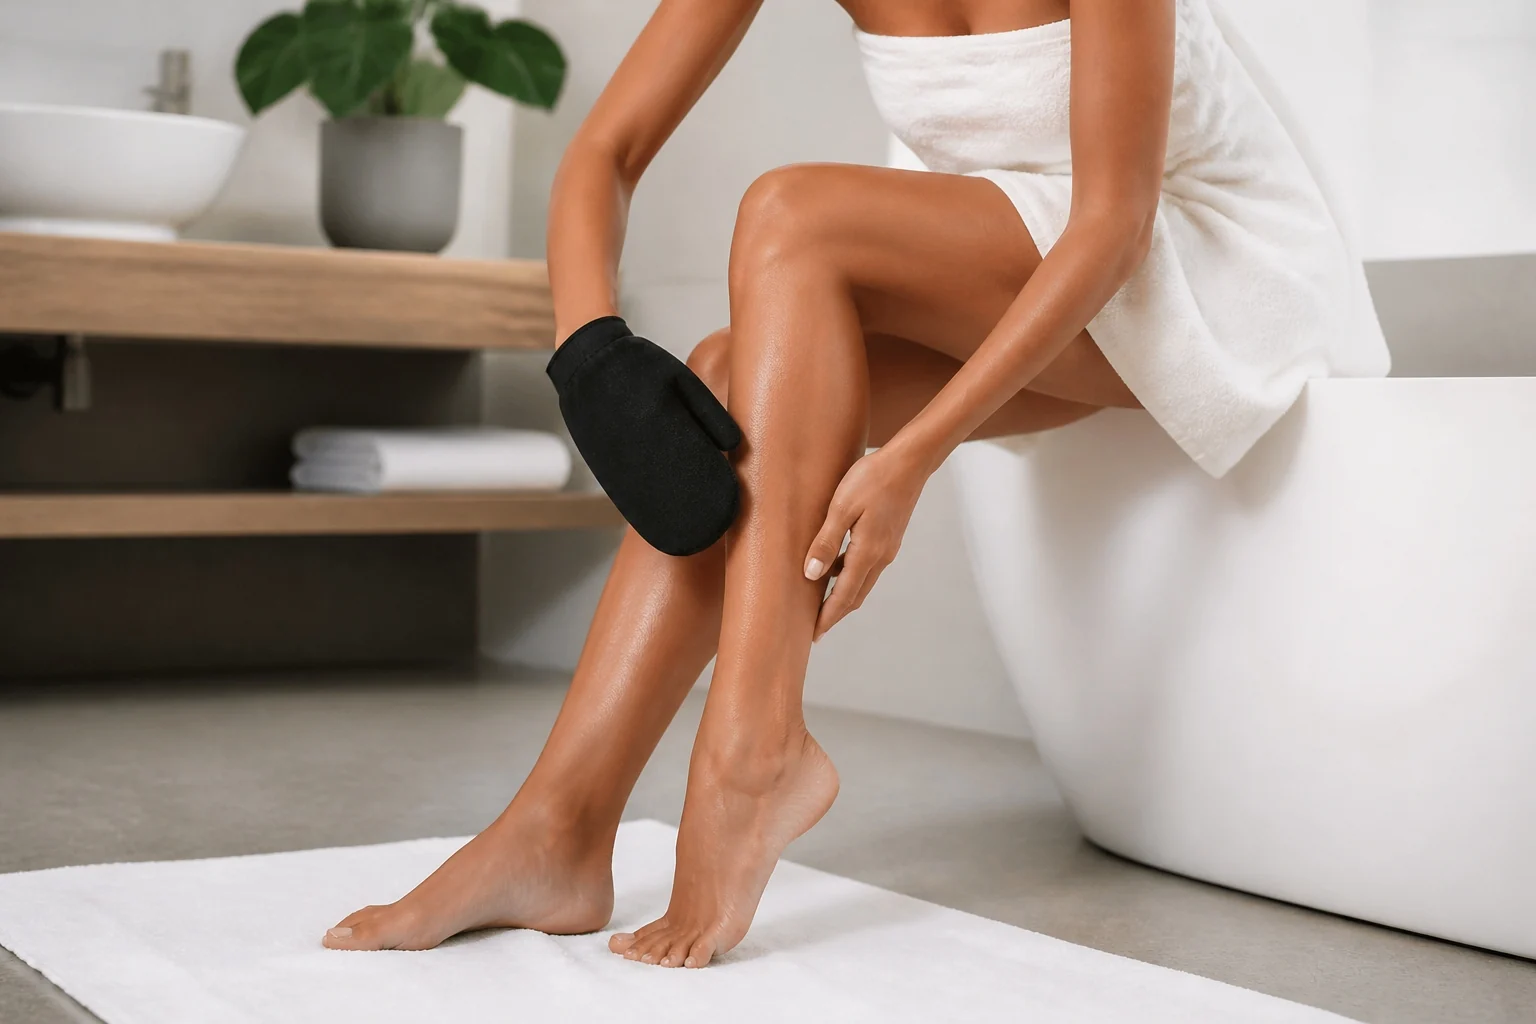
The time for application has come. To guarantee a professional result, use a velvet or foam applicator application glove. This glove protects the palms of your hands from stubborn stains and smoothes the product perfectly evenly.
The golden rule: work from the bottom up
To avoid creating skin folds and moving freshly applied product when bending, always start at the lower body:
- Feet and ankles: Use only the product residue on the glove after doing your legs. Never apply product directly to the back of the foot. Lightly sweep the glove over the top of the foot and stretch toward the toes.
- Legs: Apply pressure of foam or product to the glove. Work in wide circular motions from the ankle to the top of the thigh. For the knees, bend the leg to stretch the skin, and pass the glove very lightly without adding any material.
- Chest and stomach: Come up on your stomach using gentle circular movements. For the neckline, stretch the material well towards the collarbones and neck.
- Arms: Start from the wrists and go up towards the shoulders. As with the knees, bend your elbow to apply the product to the tight skin, using only the remaining material on the glove.
- The back: If you are alone, you can use a specific back applicator or attach your glove to a long-handled shower brush. Apply the product using back and forth movements.
Step 4: The delicate case of the hands and face
These are the most exposed areas and the least forgiving of application errors. They require special attention.
The protocol for impeccable hands
Stained hands are a telltale sign of improperly applied self-tanner. To avoid this trap:
- Position your hand in a “claw” shape (as if you were holding a tennis ball) to tighten the skin on the joints and avoid white folds.
- Using the applicator glove containing only the product residue (do not add more material), gently sweep the back of the hand, then stretch towards each finger.
- Immediately after, take a makeup remover wipe or a damp cotton pad with a little micellar water to clean the inside of your hands, your nails, your cuticles and the space between your fingers.
Application on the face
For the face, subtlety is key. Self-tanning drops to mix with your hyaluronic acid serum or moisturizing night cream are highly recommended. If you use a dedicated facial formula:
- Apply the product starting from the center of the face (nose, cheekbones) outwards.
- Blend carefully along the hairline, eyebrows and ears using a clean makeup brush (kabuki type) or damp cotton swab.
- Remember to move the product down the neck and onto the back of the neck to avoid a clear demarcation at the jawline.
Step 5: Exposure time and first rinse
Once the application is completed, the development process begins. The following hours are crucial for setting the tan.
Drying and dressing
Wait at least 10 to 15 minutes before getting dressed. To check that the product is dry, lightly touch your skin: it should not stick. During development time (generally between 4 and 8 hours depending on the formulas, or 1 to 3 hours for express formulas):
- Wear dark, loose, flowing clothing. Avoid tight jeans, underwired bras and socks which could create friction and displace the product.
- Avoid contact with water: do not wash your hands (use hydroalcoholic gel only on the palms if necessary), do not play sports (sweat creates drips) and do not cry!
The first shower
When the exposure time is up, rinse your skin with lukewarm water only, without using shower gel, soap or shower gel. Rinse until the water becomes completely clear. Gently pat your skin dry with a clean towel, without rubbing.
How to maintain your tan and make it last?
A well-maintained self-tanner fades evenly, without leaving patches. To extend the duration of your tan:
- Moisturize daily: Apply moisturizer or body oil morning and evening. Well-hydrated skin flakes less quickly, which preserves color for longer.
- Avoid hot showers and prolonged baths: Hot water accelerates cell renewal and can dull your tan.
- Gently exfoliate after 5 days: When the tan begins to fade, perform a very gentle exfoliation to even out the loss of color and prepare the skin for the next application.
Trace alert: how to correct errors?
Despite all your precautions, a trace or accumulation of product has appeared? Don’t panic, there are quick solutions to correct the situation without having to start all over again:
- To soften a demarcation: Apply a little body oil (or baby oil) to the affected area. Leave on for 10 minutes to soften the DHA-stained cells, then scrub gently with a damp washcloth or gentle scrub.
- Baking soda and lemon mixture: For stubborn stains on hands or elbows, mix a tablespoon of baking soda with a little lemon juice to form a paste. Apply to the area, massage gently for one minute, then rinse. Please note, this exfoliating method should be used sparingly and avoided on the face.
- Self-tanner erasers: Today there are specific “make-up remover” foams for self-tanners. Formulated with urea or fruit acids, they eliminate fake tan in just a few minutes without damaging the skin.
