
If every squat attempt leaves you with sore knees, the problem may not be with you, but with the movement itself. In physiotherapists’ offices and in gyms, an exercise is now coming back when it comes to protecting the joints while strengthening the thighs: the Spanish squat. Initially used in rehabilitation, it is gradually being introduced into fitness routines at home.
Its principle seems almost too simple: a resistance band, a solid anchor point, a few well-controlled repetitions. And yet, this “assisted squat” completely changes the way the weight is distributed on the knees, while burning the quadriceps. This is where it gets really interesting.
Spanish squat: why the quadriceps love it and the knees say thank you
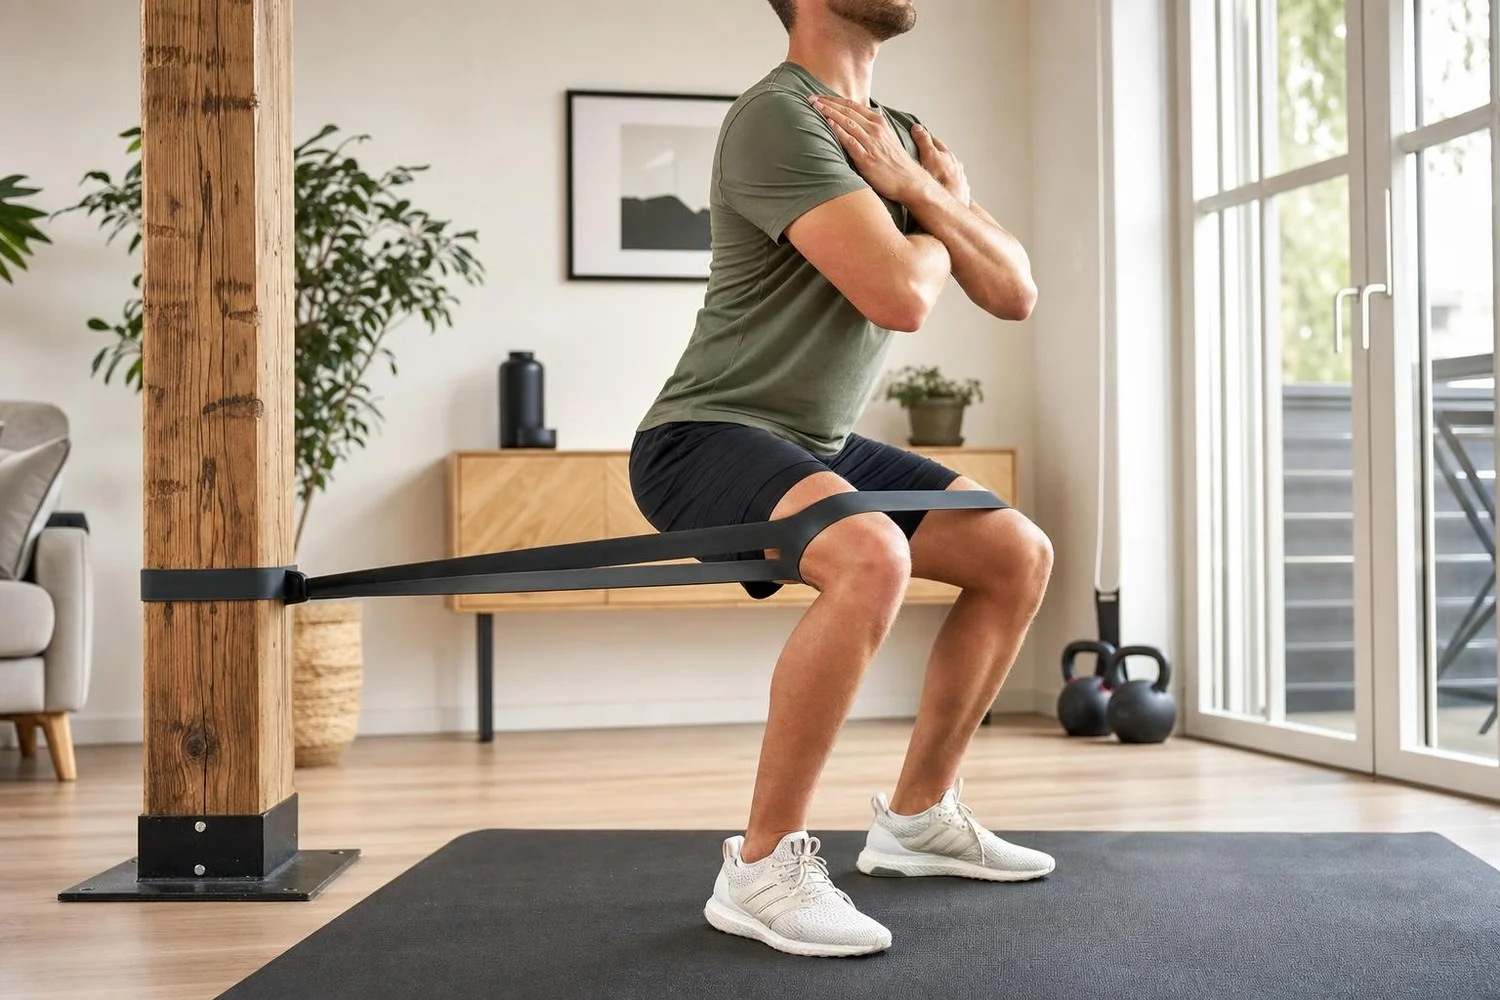
The Spanish squat is performed with a band or strap passed behind the hollow of the knees, fixed at knee height on a very stable support. We move back until we feel the tension, then we “sit” backwards, shins almost vertical and back straight. Compared to a classic squat, the knees move forward much less and the band takes up part of the frontal pressure on the joint: the patellar tendon is less loaded, but the thighs work more.
This focus on the front of the thigh is not anecdotal. explains Keith McNiven, quoted by . Strong quadriceps stabilize the knee, reduce friction under the kneecap and help with walking, running or stairs.
How to do a Spanish squat without knee pain
At home, hang a large resistance band around a very sturdy post (footboard, post, weight machine) at knee height, then slide it into the crease of the knees. Step back until the band “pulls” you slightly forward and place your feet hip width apart. Keep your torso straight, your gaze horizontal, and your shins as vertical as possible.
Lower into a squat in four or five seconds, to about 90 degrees of flexion, hold for a second, then come back up, pushing hard through the legs. For gentler work on sensitive knees, you can stay down for 30 to 45 seconds, without moving. Three to five sets of this isometric hold, two to three times a week, are already enough to strengthen the quadriceps; we stop if the pain exceeds 3 out of 10 or increases lastingly after the session.
Integrate the Spanish squat and chair into your leg routine
For those who above all want firm and toned thighs, the Spanish squat combines very well with the chair against the wall. This wall sit consists of leaning against a wall, knees bent at 90 degrees, as if sitting on an invisible chair. By intensely working quadriceps, hamstrings and glutes without sudden movements, the chair refines and firms the legs while improving circulation, which limits the feeling of heavy legs.
A minimalist at-home routine might look like this: five-minute joint warm-up, then three sets of 8 to 12 slow Spanish squats or 30 seconds in a held position, followed by two or three sets of chair chairs for 30 to 45 seconds. Practiced two or three times a week, this combination strengthens the thighs, maintains the figure and protects your knees, provided you adapt the amplitude and listen to your sensations.
Spanish Squat and Knees FAQ
Spanish squat or classic squat: which is gentler on the knees?
The Spanish squat limits the forward movement of the knees and the pressure under the kneecap thanks to the band, so it is often better tolerated than the classic squat in people with sensitive knees.
Can you do Spanish squat with patellar tendinopathy?
This exercise is frequently used in patellar tendinopathy rehabilitation, but always under medical or physiotherapy supervision; at home, you stay in a zone of low pain and you stop if there is persistent discomfort.
How many times a week to practice the Spanish squat to strengthen the quadriceps?
For most practitioners, two to three sessions per week with three to five sets are enough, playing on the holding time or the slowness of the repetitions to gradually increase the difficulty.
